Grab some simple supplies and get into the holiday spirit with a baking soda Christmas tree science experiment. It’s just what you need to add to your list of Christmas activities for preschoolers.
Are you following my Preschool Christmas Pinterest board?
Clik here to view.

Kids are the best scientists. They’re naturally curious and enthusiastic about the world around them.
I love taking that natural scientific thinking and expanding on it, both at home and school.
Christmas Tree Science Experiment
So it likely won’t surprise you that I’m a big fan of all kinds of science experiments for kids at home and school.
And this is one of the best Christmas science experiments – if I do say so myself. Easy to set up, simple materials, and super fun!
Christmas Tree Science Materials
This is what I like to call a kitchen pantry experiment. Because you probably have most of the ingredients in your kitchen right now. Or in your teacher supply stash!
Clik here to view.

Here’s what you need for the Christmas tree science experiment:
You can even spruce up the Christmas science experiment with glitter or sequins if you’d like. If you don’t have food coloring, liquid watercolors are a great substitute.
I also recommend a tray or a bin of some kind. Depending on how many children are participating at once, it could be a small tray or a large under-the-bed storage bin.
Feel free to swap out the droppers for squeeze bottles instead. There’s a lot of wiggle room within this fun science idea!
Baking Soda Christmas Tree Directions
Once you’ve gathered all of your materials, have the children help you set everything up.
If you’d rather surprise the kids with the Christmas tree science experiment, that’s okay too!
Start with the tray or bin. Place the tree cookie cutters inside the bin. Then spoon baking soda into the cookie cutters. Be sure not to overfill.
Clik here to view.

Related: Christmas Engineering Activity
Next, add some “decorations” to the baking soda trees. You’ll do this by adding drops of food coloring to the baking soda. I think they look like snowy trees with colorful Christmas lights.
Once that’s done, let the kids grab some vinegar! Show the children how to squeeze the dropper tops and add vinegar to the droppers. Then the kids can squirt vinegar onto the Christmas trees and watch the reactions. (Here’s a tip . . . if you want super foamy reactions, add a squirt of dish soap into the vinegar.)
Clik here to view.

You can challenge the children to just add a drop or two of vinegar right on top of each food coloring drop. That will give them a fun goal – to see if they’re steady enough to do so.
Some children will want to try that, while others might want to see how to make the cookie cutters overflow with the fizzing foam. That’s perfectly fine – that’s what the tray/bin is for.
Clik here to view.

Related: Christmas Tree Activities
Allow the children to explore the Christmas tree science experiment in different ways. Encourage them to ask questions and test out ideas.
You can also add extra baking soda and vinegar so the children can repeat the science activity over and over.
Learning with Christmas Science
There’s a lot of learning opportunities in this Christmas tree science experiment!
First, there’s the science aspect, of course. To really get the most out of this activity, I suggest bringing in the scientific method. Yes, preschoolers can definitely be taught the scientific method!
Begin by explaining the materials you have and how the activity is set up. Ask the children to predict what will happen when the vinegar is squirted on the baking soda trees. You’ll get a wide variety of answers, and that’s okay! Record what the kids think will happen.
Then move on to testing the experimenting. Encourage the children to tell you about what’s happening. Ask them to describe what they feel, see, hear, and smell. Record some of their observations.
Clik here to view.

Related: Christmas 5 Senses Book
Once the experiment is complete, you can explain what happened. How you explain it is up to you. A super-simple explanation is that when baking soda and vinegar mix, they create water and carbon dioxide. The carbon dioxide creates the bubbles in the reaction.
In addition to the scientific aspects of the activity, children are also exploring sensory input. You can also weave colors into it because of the food coloring. Consider adding just yellow and blue drops to the baking soda trees. This will allow the children to explore color mixing too.
And then there’s the language development! The children will be having conversations and learning new vocabulary along the way.
Not too bad for an incredibly easy Christmas tree science experiment, right!?
Christmas Tree Books
Since this experiment is focused on Christmas trees, why not incorporate some fun kids’ books too!
Below are a few ideas to get you started. I love reading with kids, and using books to expand on an activity is always a plus in my opinion.
Do you have a favorite Christmas tree book? Feel free to share it in the comments below.
Done-for-you Preschool Resources
I know that, with the holidays looming, it can seem impossible to be in the moment providing meaningful instruction to students. Especially when we have so many lesson plans to get done. Let Preschool Teacher 101 save you time today!
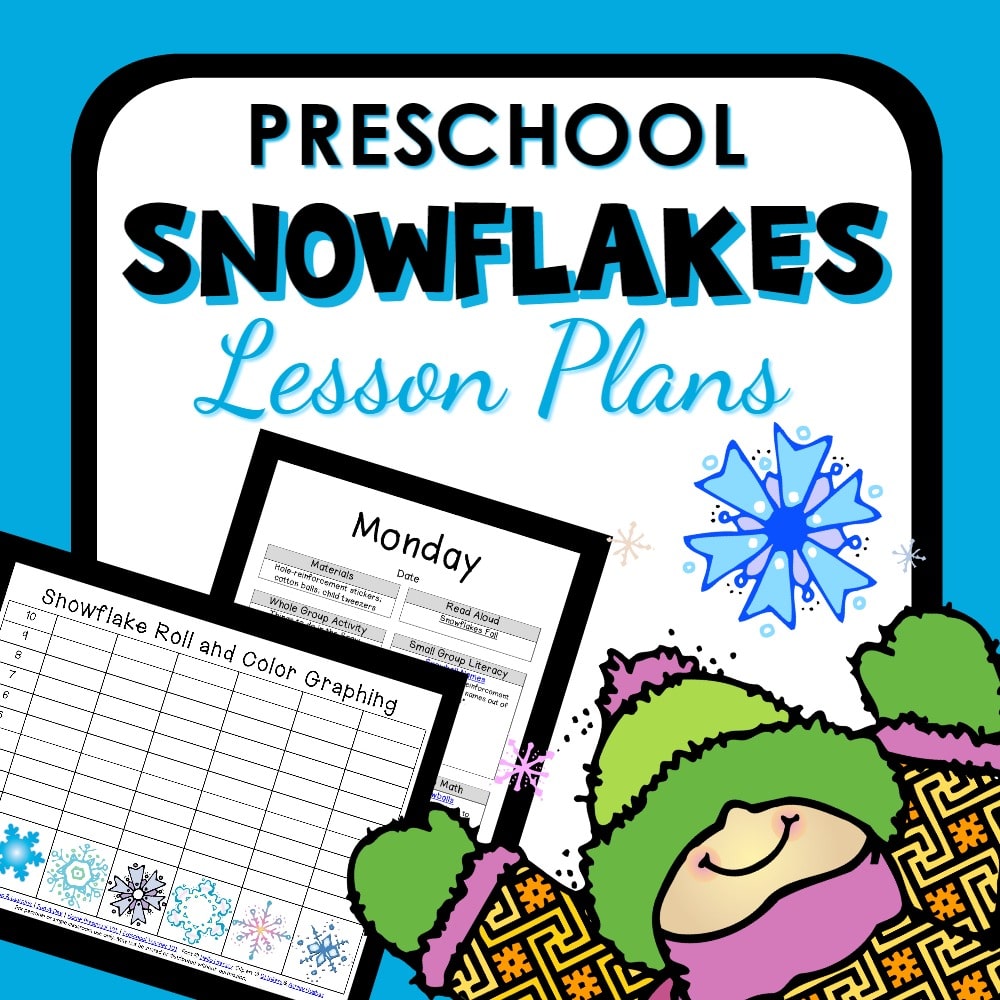
Click on the images below to find out more about each resource. The first lesson plan below is all about exploring the senses like we did in today’s experiment.
Clik here to view.

Clik here to view.

Clik here to view.

While you’re at it, make sure to join The Pack, which will give you exclusive access to all of these wonderful winter activities and lesson plans.
Clik here to view.

The post Baking Soda Christmas Tree Science Experiment appeared first on Fun-A-Day!.
